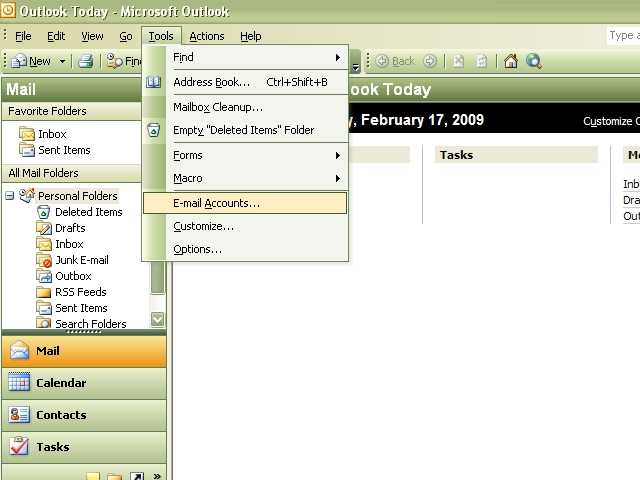
This is for setting up a new Email account in Outlook 2003. See further down the page for help with changing an existing an account. Click on the "Tools" pulldown menu and click on "E-mail Accounts"
This is for setting up a new Email account in Outlook 2003. See further down the page for help with changing an existing an account. Click on the "Tools" pulldown menu and click on "E-mail Accounts"
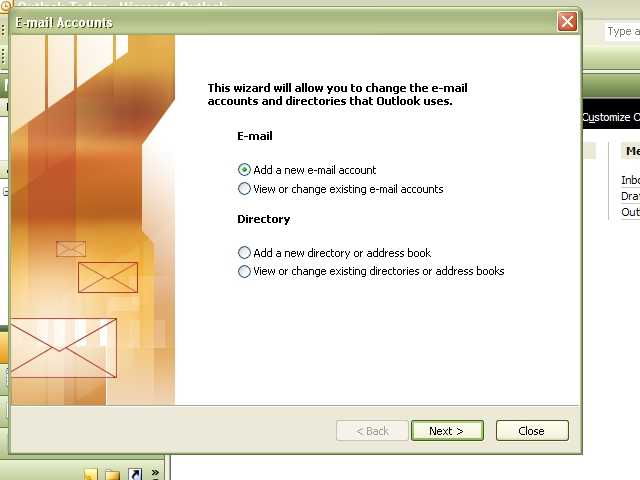
Select the option "Add a new e-mail account" then click Next.

Select the option "POP3" and then click Next.

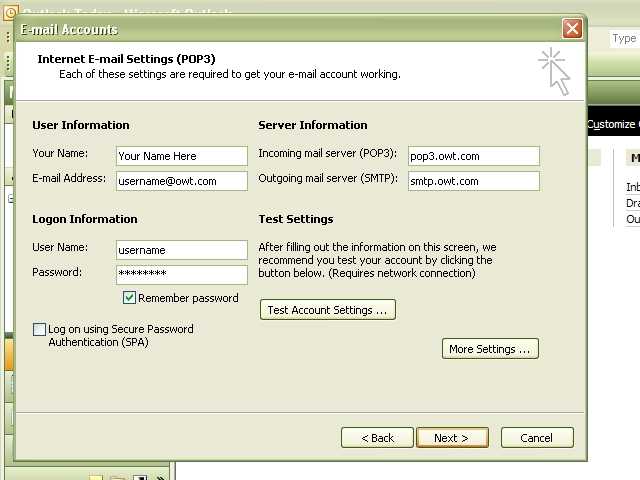
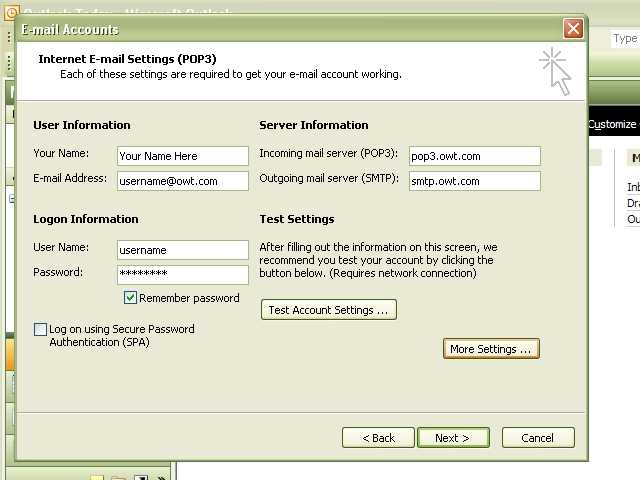
Fill in all your information and then click the "More Settings" button near the bottom right.

Click on the Outgoing Server tab at the top and place a check in the top box labled "My outgoing server (SMTP) requires authentication". Then click the "OK" button at the bottom of the window.
Click Next.
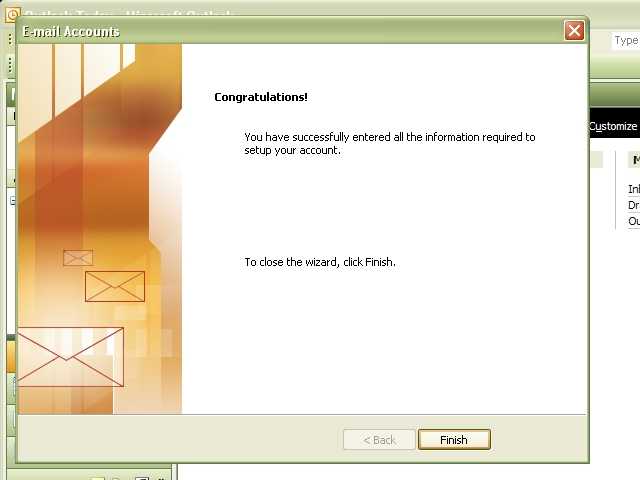
That's it! Just click Finish.

Follow these steps if you need to change any server settings. If you use a different ISP other than OWT, and/or use more than one computer with the same e-mail account on each this maybe required. Click on the "Tools" pull down menu and click on "E-mail Accounts".

Under E-mail, select "View or change existing e-mail accounts" and then click Next.
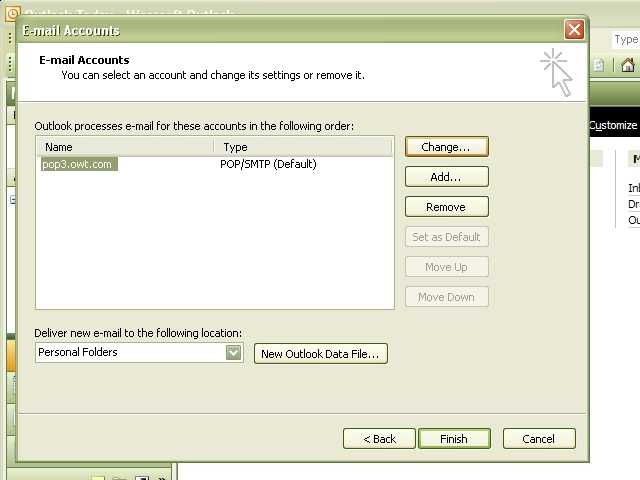
Highlight the account you wish to change and press the "Change" button at the top right.
Click on the "More Settings" button near the bottom right.

If you receive an e-mail account on more than one device you can adjust the Delivery settings located at the bottom of the "Advanced" tab page for Internet E-mail Settings. In this situation we recommend setting remove from server to 3-5 days and selecting "Remove from server when deleted from Deleted Items".

If you are using different ISP other than OWT and are getting errors when trying to send. Try changing the "Outgoing server (SMTP) from 25 to 587, located near the top of the "Advanced" tab page for Internet E-mail Settings. After making any changes, in order to save them you have to hit the OK button.

Click Next.

Click Finish and you're done!