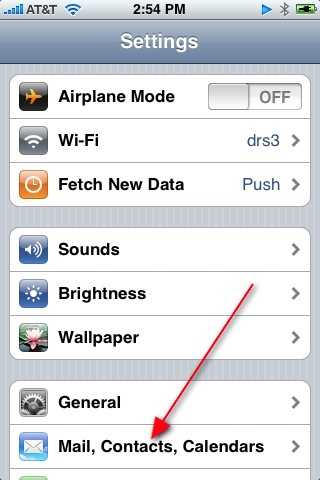
From the main iPhone menu touch the Settings icon. Then click on the Mail, Contacts, Calendars button.
From the main iPhone menu touch the Settings icon. Then click on the Mail, Contacts, Calendars button.
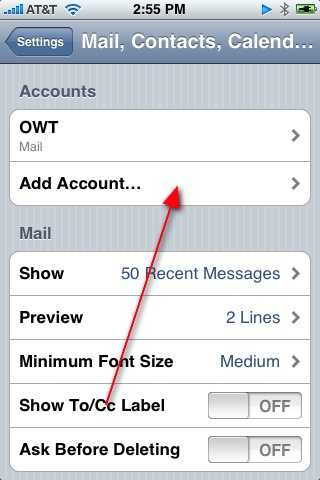
Touch Add Account to create your OWT account on your iPhone.
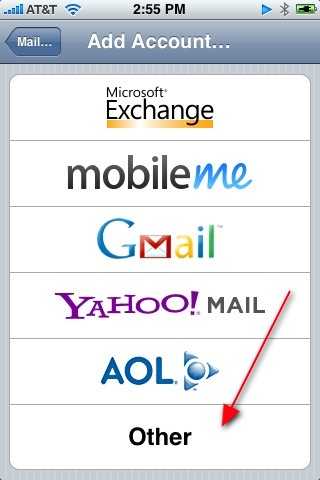
From the menu of Email services touch Other.
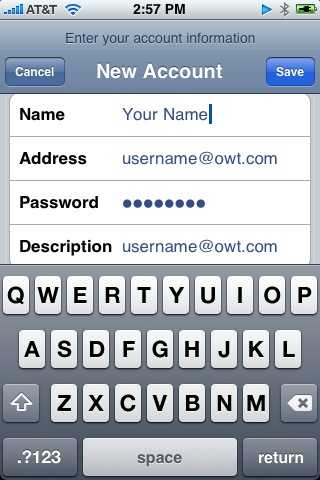
Enter your real name in the Name field Enter the Email address as given to you by OWT in the Address field. Enter the password given to you by OWT in the Password field. Description should be auto-filled but you can change it if you wish to be something meaningful to you. Touch Save.
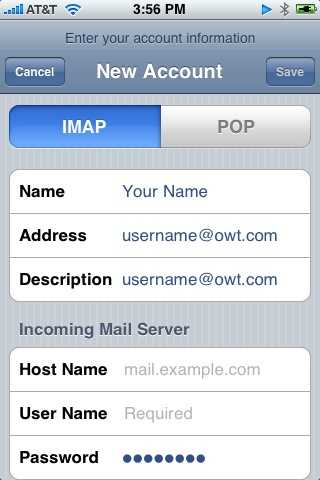
You now have to determine whether you want an IMAP or POP3 account. We suggest you create an IMAP account as that will work best with whatever protocol you may be using on your computer already.

For a POP3 or IMAP account enter pop3.owt.com as the incoming mail server. Enter your username as given to you by OWT under username. (Note: this will not have a @ in it!) Enter your password as given to you by OWT in the Password field.
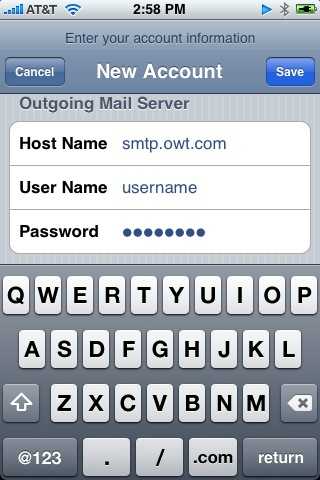
In the Outgoing Server section enter smtp.owt.com in the Hostname field Enter your username as given to you by OWT in the Username field. Enter your password as given to you by OWT in the Password field. Click Save.
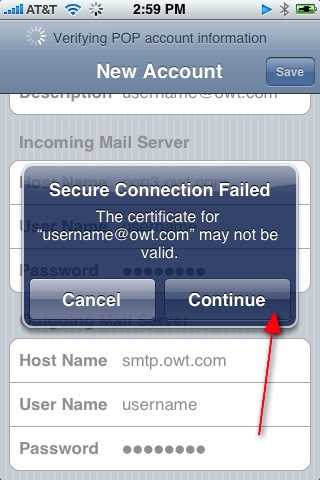
The iPhone will then verify some information and will produce a warning message saying that it can not find a certificate. You may ignore this message by touching Continue.
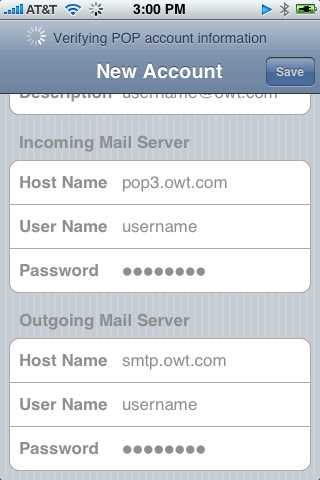
The iPhone will then continue verifying things. This can take a while.

The iPhone will then produce an error that it can not set the account up using SSL. Touch Yes to continue setting up the account without SSL.
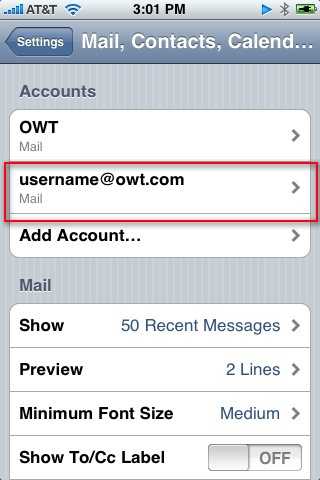
Your account is now almost ready and will show in the account list. You now must touch the account name to edit it.
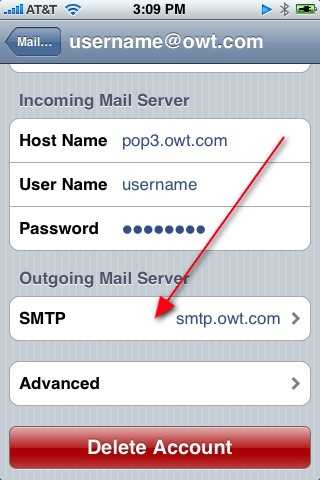
Then scroll down to the Outgoing Mail Server section and touch SMTP smtp.owt.com.
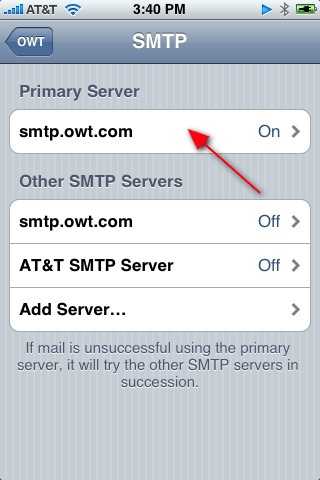
Touch smtp.owt.com to edit that setting.
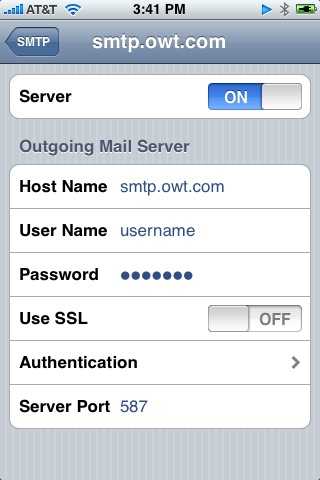
We suggest you set the Port to 587 so that it will work when you are connected to hostile Wi-Fi connections that block the normal port 25. Make sure SSL is off. Touch Authentication and make sure Password is selected (this sometimes doesn't take the first couple of times you select it).
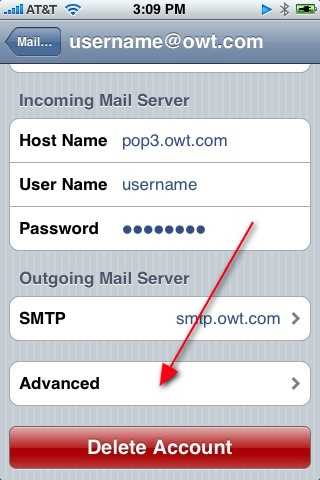
No from the main account screen touch Advanced.
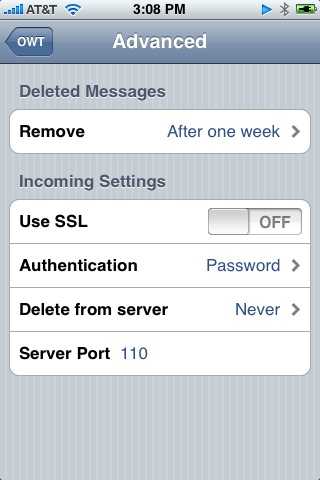
In the Incoming Settings section make sure SSL is off. Authentication should be set to Password and the Port is 110. This also sometimes doesn't set the first time through so keep that in mind during troubleshooting. That's it! You are now ready to test your account by clicking on the MAIN Mail icon from the main iPhone menu.