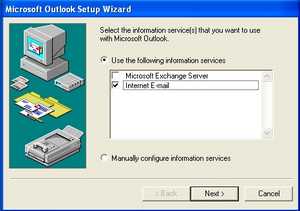
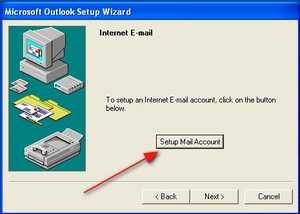
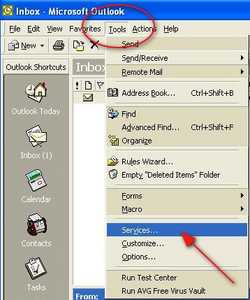
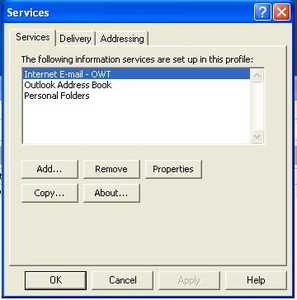
Step 1
Step 2
Step 3
Step 4
Step 5
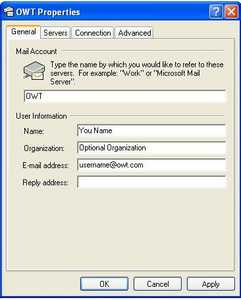
Name your account OWT or similar. Enter your name and optional organization. Enter your Email address as given to you by OWT. If not on your own domain this would be like username@owt.com Usually you won't use the Reply Address field unless you want users to reply to a different account than you are setting up.
Step 6
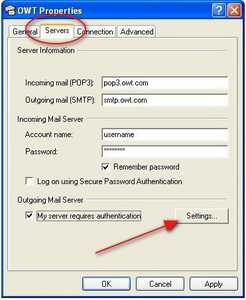
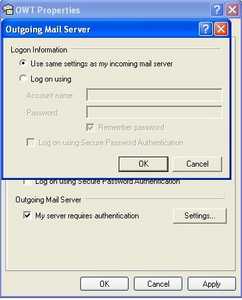
Now click on the Servers tab at the top of the dialog. The Incoming mail (POP3) server is pop3.owt.com The Outgoing mail (SMTP) server is smtp.owt.com Under the Incoming Mail Server section enter your username as given to you by OWT (without the @owt.com) and the password given to you by OWT. Check the Remember Password box if you don't want to enter this every time you check mail. Under the Outgoing Mail Server section click the box labeled "My server requires authentication". Do NOT check the Log on using Secure Password Authentication. Click on the Settings button.
Step 7
Step 8
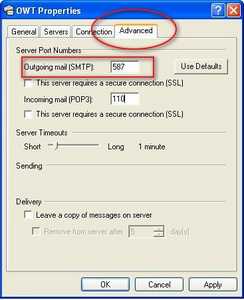
This next step is not required for everyone but is a good idea for those that do not use OWT to access the Internet or if you are using a laptop and travel with it. Click on the Advanced tab at the top of the dialog. Under Server Port Numbers, Outgoing mail (SMTP) port enter 587 (default is 25) Click OK. That's it! You may close this dialog and test your Email setup.
